

In this post, we are going to create a Ubuntu VM on Azure with Evilginx, which is going to be used as a MiTM/AiTM Proxy.
If you don't know what AiTM is, here you can get a quick overview.
I got myself the information out of Jan Bakker's Blog posts, which are propably the best you will ever find covering this topic. Later in this Post, we will use Jan Bakker's phishlets.
Before we can start we have to check the Requirement. 👌
Requirements
- Azure Subscription
- just a little knowledge of Azure and Ubuntu
- a Domain for Testing
- configurable DNS management
- be able to SSH
Create Azure Virtual Machine
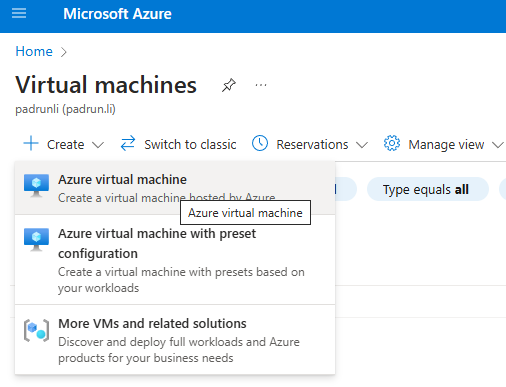
Head with the browser of your choice to https://portal.azure.com/ and start creating a virtual machine.
Choose your Subscription and your Resource group.
Give it a nicerdicer Name and choose the desired Region.
Be aware of the VM Size we are choosing - they are not available in all regions.
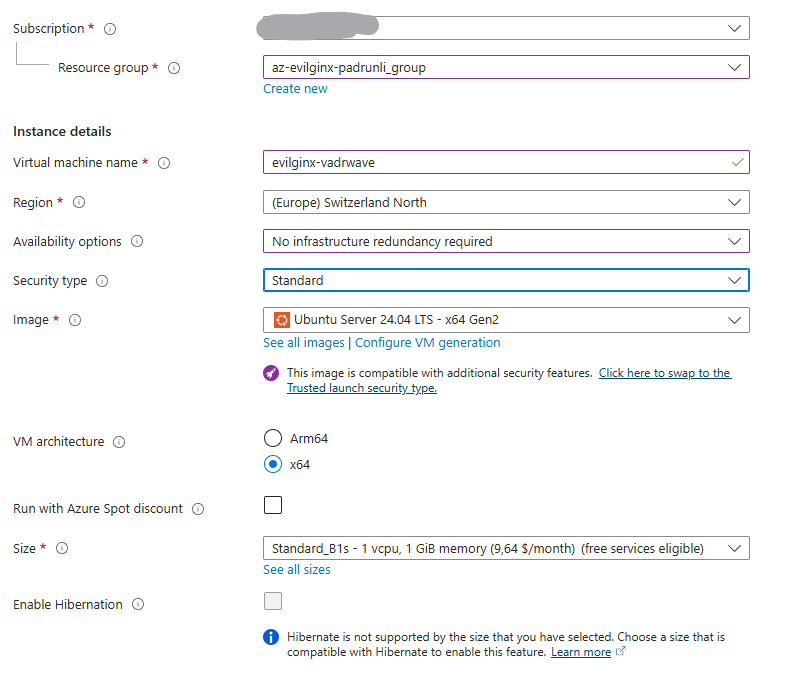
Evilginx requires at least 1GB of RAM and 1 CPU.
For testing purposes, I am using the B1s machine to reduce costs. If I find that the machine is slow like a snake, I can upgrade to the B2s machine, which has 2 vCPU cores and 4GB of RAM. However, this upgrade will also increase costs very mucho!
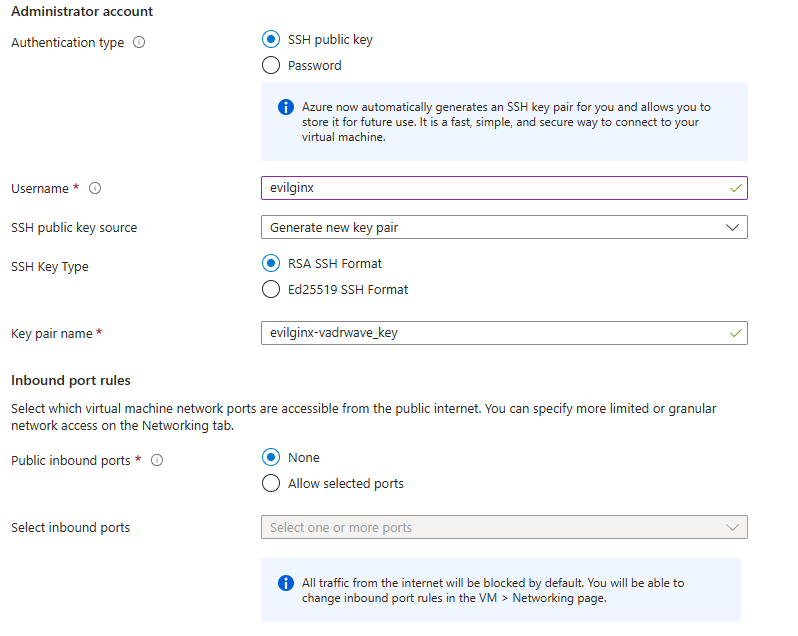
We are going to create a public SSH key to connect later via SSH.
Choose your Username as you want.
For the public inbound port, we are going to configure them later.
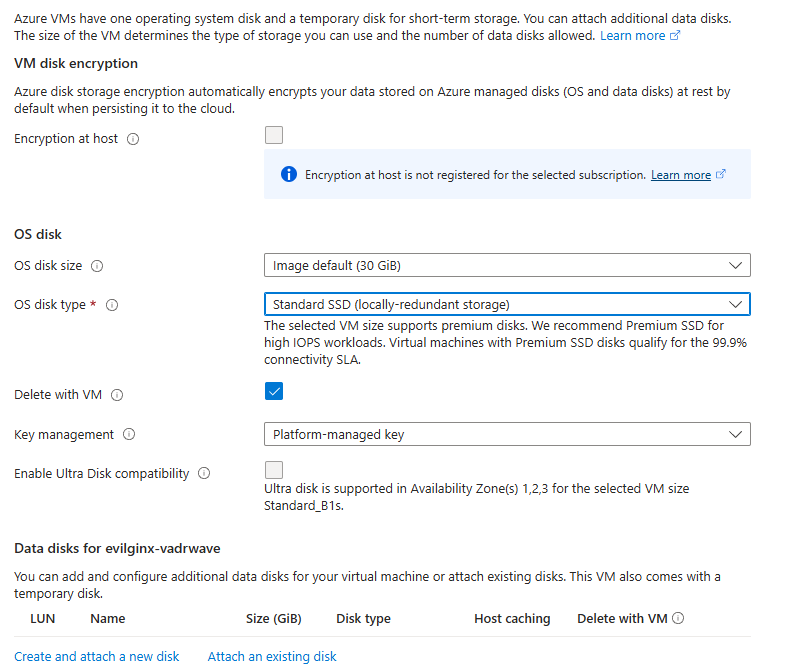
As for the Disks, you can leave it how it is. If you want to save some good old bucks, you can choose Standard SSD instead of Premium SSD.
On the Network config form, just check the "Delete Public IP and NIC when VM is deleted."

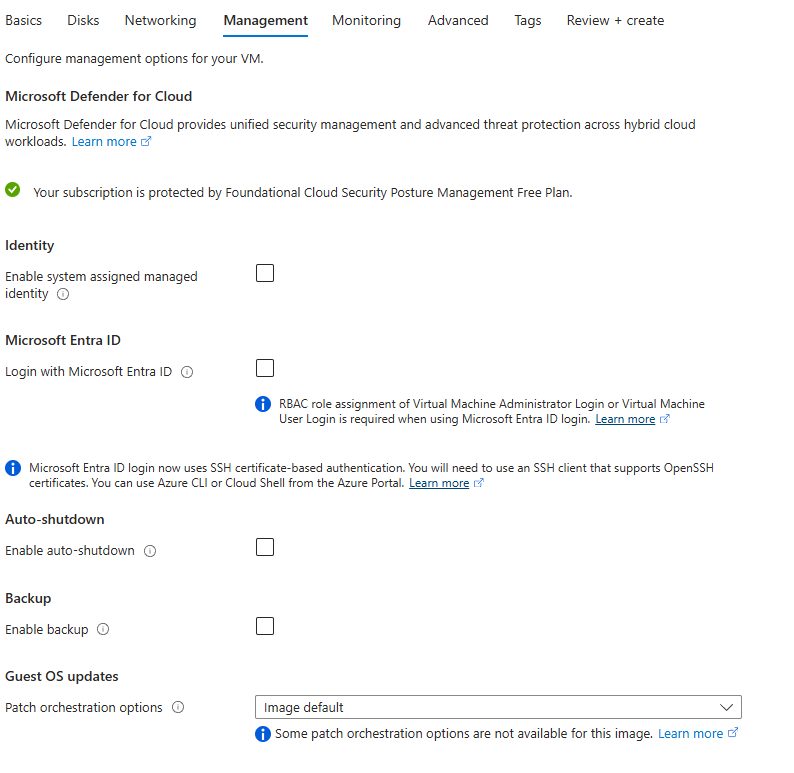
You can now skip the management part and go straight to monitoring.
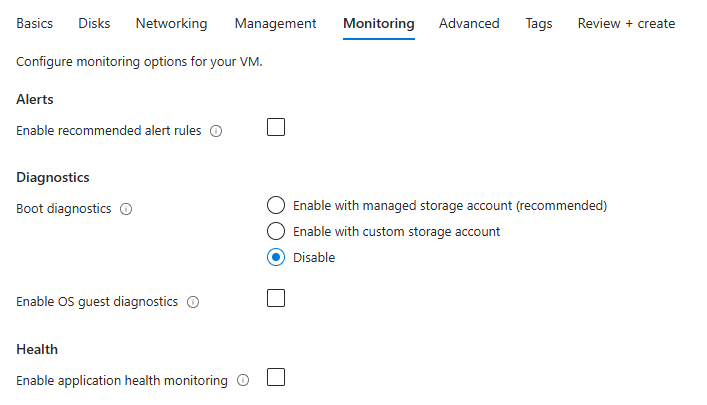
Monitoring: Just disable those lame Boot diagnostics
Now we can go directly to Review and Create, since the rest does not care us.
When you press Create, a popup will appear to ‘Generate a new key pair’, which gives you the option to download the private key and create the resource. Make sure to download the .pem file and keep it safe.
Finally, our VM is now created. In the next Step we will do the needed Network Settings.
Network Settings
Evilginx uses following port so we need to configure Azure VM network for these settings. I have included port 80 to my configuration for testing purposes.
TCP 443 Reverse proxy HTTPS traffic
TCP 22 SSH port for remote configuration (can be changed to anything)
UDP 53 DNS nameserver traffic used for hostname resolution
We are going to add those rules, so we should be able to connect after that.
DNS Config
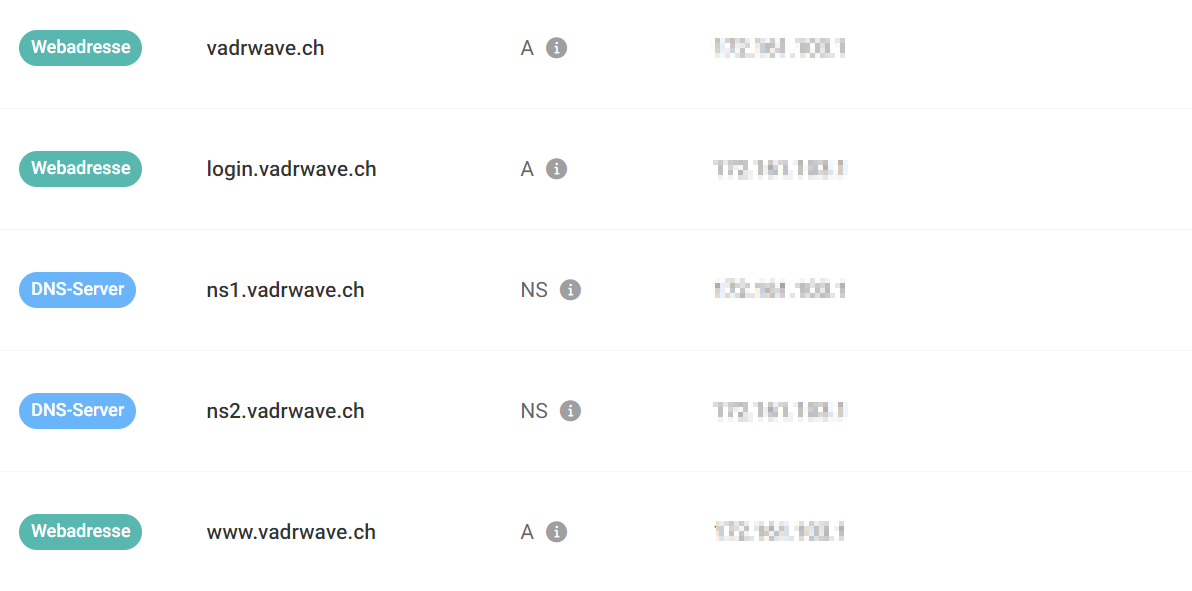
To set up Evilginx, we need some DNS Records.
First of all you will need an A Record point to "login.<yourdomain>" to you Azure VM Public IP.
DNS Setup will be different from Provider to Provider. I am Using a Swiss Product here "Infomaniak".
It should then look something like this:
SSH to the Virtual Machine
How you want to connect will depend on your Style. Cou can either use WSL, a Linux Client, Powershell oder any other SSH tool you like.
I am going to use Powershell.
Get the Path where you saved you .pem Key and add it on Step 3. It should look like this:
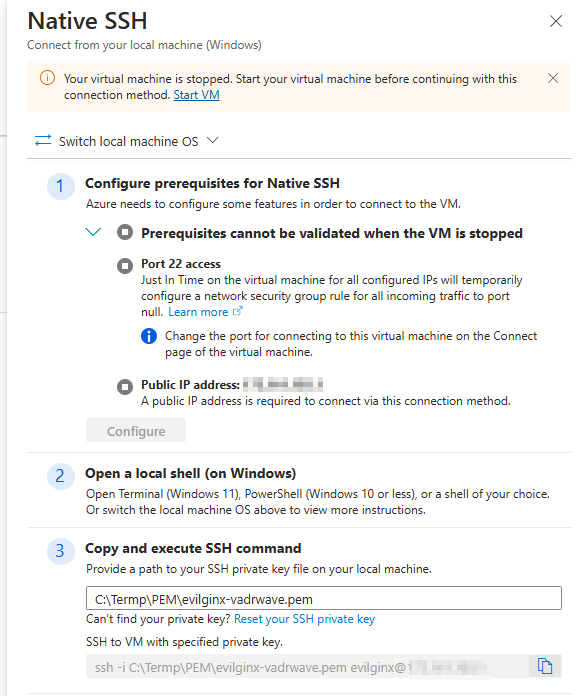
Now you can copy the whole SSH command and just paste it to your Poweshell.
Evilginx installation & configuration
First, we all now what comes first on Linux. Make sure everything is up to date and we have the latest patches.
# Update ubuntu
sudo apt update
sudo apt upgrade -y

# install tools
sudo apt install wget make git -y

# Stop dns resolver
sudo systemctl stop systemd-resolved
To edit and add DNS servers, open the /etc/resolv.conf file using the following command
sudo nano /etc/resolv.conf
Comment out the nameserver you have in there and add the Nameserver you love most ❤️ - i choose Cloudflare.
Cloudflare: 1.1.1.1, 1.0.0.2
It should then look something like this:
#nameserver 127.0.0.53
nameserver 1.1.1.1
nameserver 1.0.0.2
Then we need to add our client to the hosts.
Open Hosts file
sudo nano /etc/hostsAdd 127.0.1.1 NameOfYouEvilginx under 127.0.0.1
127.0.0.1 localhost
127.0.1.1 evilginx-vadrwave
Software Install
Download and install GO
# Download Go
wget https://go.dev/dl/go1.22.3.linux-amd64.tar.gz

# Extract packages
sudo tar -zxvf go1.22.3.linux-amd64.tar.gz -C /usr/local/

# configure Path environment
echo "export PATH=/usr/local/go/bin:${PATH}" | sudo tee /etc/profile.d/go.sh

source /etc/profile.d/go.sh

# Clone and compile from source
git clone https://github.com/kgretzky/evilginx2.git
cd evilginx2
make

# Create folders
sudo mkdir -p /usr/share/evilginx/phishlets
sudo mkdir -p /usr/share/evilginx/redirectors

# Copy content
sudo cp ./phishlets/* /usr/share/evilginx/phishlets/ -r
sudo cp ./redirectors/* /usr/share/evilginx/redirectors/ -r

# Set evilginx as executable and copy it to /us/local/bin
sudo chmod 700 ./build/evilginx
sudo cp ./build/evilginx /usr/local/bin/

# Download phishlet from Jan Bakker
sudo wget https://raw.githubusercontent.com/BakkerJan/evilginx3/refs/heads/main/microsoft365.yaml -P /usr/share/evilginx/phishlets/
Phuuu - almost done...
With the following command - we are finally able to run our little hackermachine. 🧑💻

Disclaimer
This post is intended for educational and demonstration purposes only. It contains information related to ethical hacking, also known as penetration testing. Ethical hacking involves assessing the security of computer systems, networks, accounts, and devices with proper authorization. Hacking without proper consent is unethical, illegal, and can lead to legal trouble